Home›Blog ›Installation and debugging of beam limiter
Installation and debugging of beam limiter
Installation:
When installing, put the beam limiter on the connecting ring of the X-ray tube group, and fix it with four set screws. When fixing, pay attention to the cylindrical end of the screw and the groove on the connecting ring to be well and firm, so as not to limit the beam. device falls.
Debugging:
The beam limiter has been debugged before leaving the factory. It needs to be further confirmed after installation and before use to eliminate errors caused by improper installation. The debugging method is as follows:
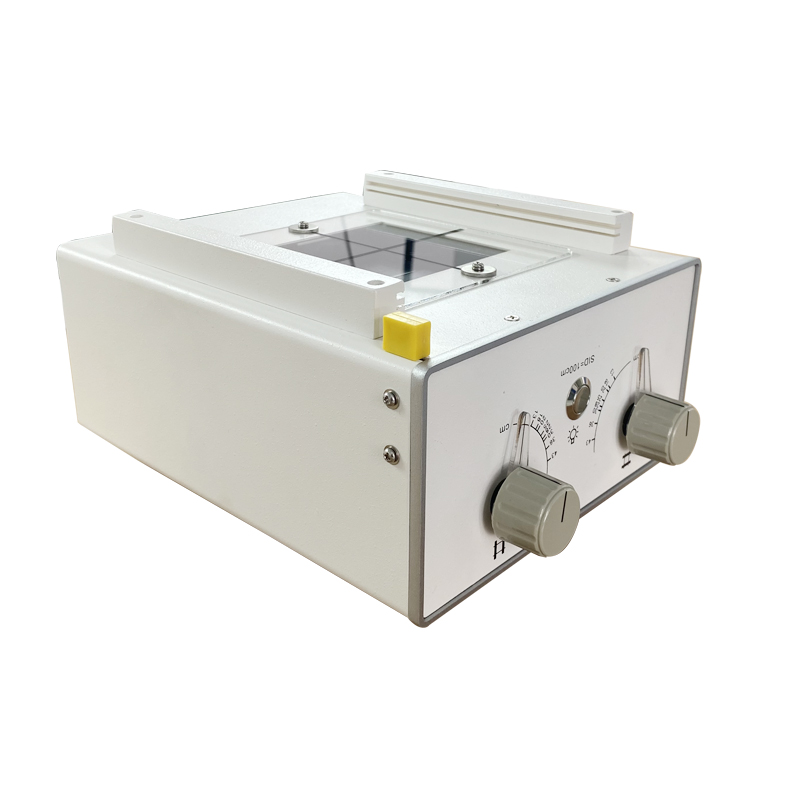
1. After the beam limiter is connected to the X-ray tube assembly, place the ray port on the ground, place a CR board on the ground directly below, and adjust the focal screen distance to 100cm.
2. Place a scale copper plate in the center of the CR plate, light the beam limiter bulb, overlap the center of the light field with the center of the scale copper plate, and adjust the light field range to 18cm×14cm, which is coincident with the rectangle inside the scale copper plate.
3. Small dose exposure.
4. Read the photo with a CR machine, check whether the center of the radiation field on the photo coincides with the center of the scale copper plate; check whether the size deviation of the radiation field and the light field on the photo meets the requirements of the national standard
5. If there is any abnormality, the fixed position of the bulb can be adjusted. (After removing the back cover, adjust the M3 screw of the fixed lamp holder, adjust the light range to coincide with the center of the X-ray field, and fix it before exposing. This link may require multiple adjustments to achieve the desired effect.)
Only when the beam limiter is installed can the equipment work with certain accuracy.
Author:X Ray Collimator
X Ray Collimator
Blog
- Newheek NK103 C-Arm Collimator Transforms Clinics in Nigeria & Kenya
- Newheek NK103 X-ray Collimator for C-arm in Brazil & Mexico
- NK202X X-Ray Collimator: How It Improves Safety and Clarity in Real-World Use
- NK202X X-Ray Collimator: The Core Component for Safe, Precise X-Ray Imaging
- Latin American Rural Hospital – Reliable Beam Control for Fluoroscopy
contact us
TEL:+86 19015366638
E-mail:newheekcn@163.com
Company:Weifang Newheek Electronic Tech Co., Ltd.
ADD:E Building of Future Star Scientific Innovation Industrial Zone of No.957 Wolong East Street, Yulong Community, Xincheng Sub-District Office, Weifang Hi-tech Zone, Shandong Province, China